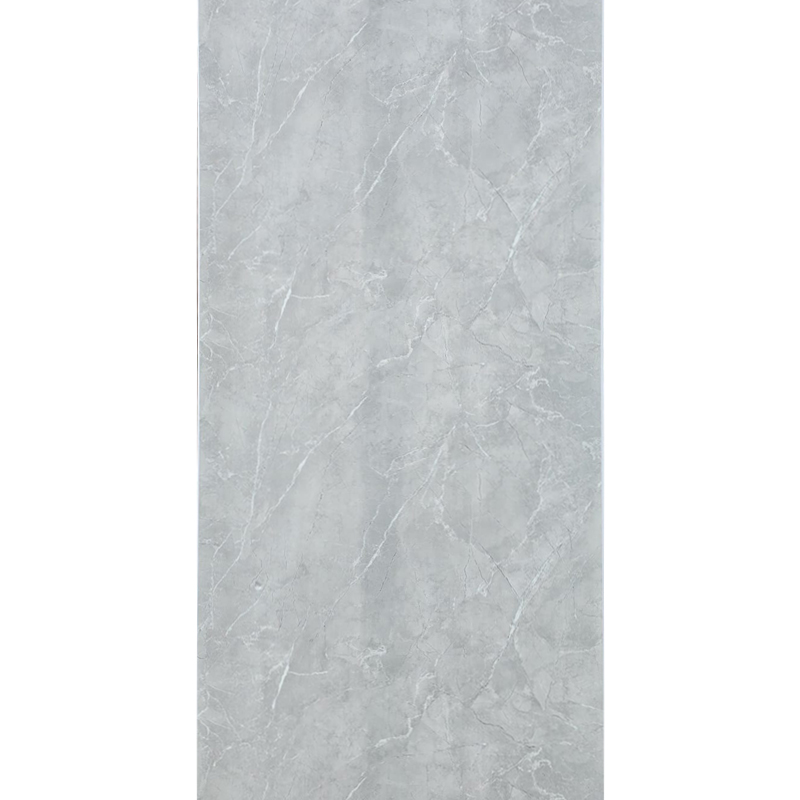
The Grey Slate Gloss PVC Wall Panel in the size 2400mm x 1000mm x 10mm is a large-format, cost-effective wall cladding designed to replicate the sophisticated look of natural stone, combining the layered texture of slate with the elegant veining of marble.
This type of panel is an excellent choice for a modern, low-maintenance interior, particularly in high-moisture areas.
Ideal Applications
The large size and highly durable, waterproof properties make this panel perfect for:
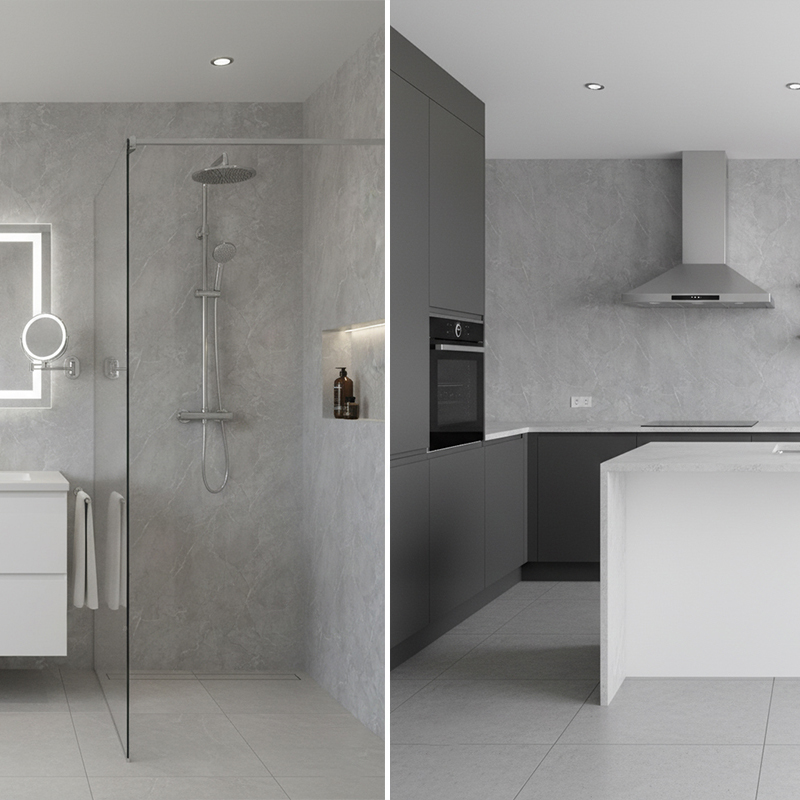
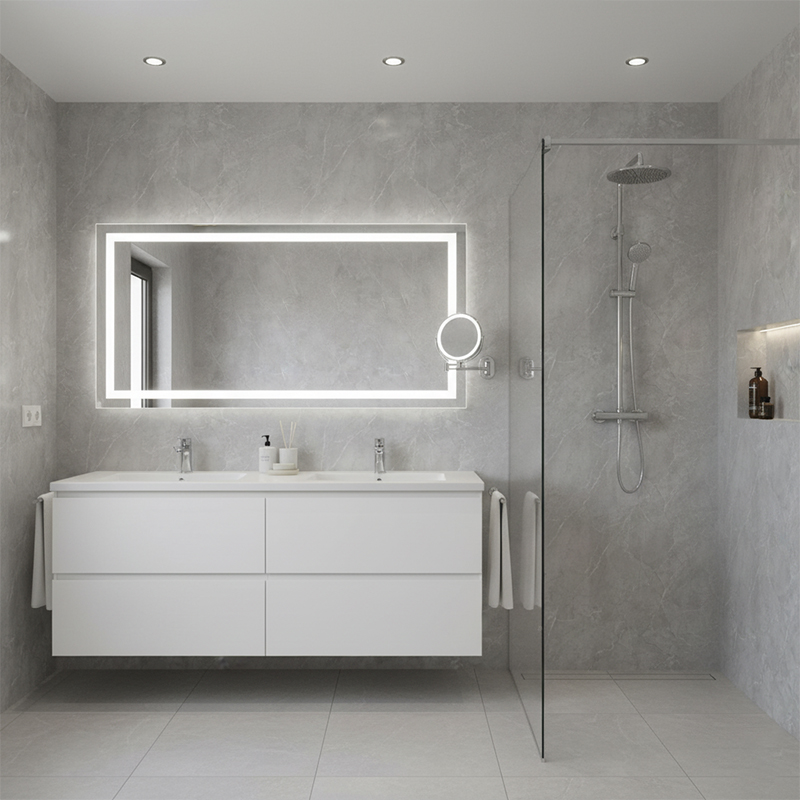
- Wet Rooms and Shower Enclosures: The 1000mm width minimizes visible joins, creating a near-seamless, easy-to-clean enclosure wall.
- Bathrooms: Provides full floor-to-ceiling coverage (2400mm) for a quick, stylish renovation that avoids grouting.
- Kitchen Splashbacks: Offers a sophisticated, easily wipeable surface that is resistant to stains and grease.
- Feature Walls: Suitable for commercial or residential spaces where a high-impact, textured stone look is desired without the weight of real slate or marble.
Installation Overview (Tongue and Groove, 10mm Panels)
These panels are designed for DIY installation and can often be fitted directly over existing surfaces like old tiles or uneven plaster (if the surface is relatively flat).
- Acclimatisation: Lay panels flat in the room for 24-48 hours before installation to allow the PVC to adjust to the room temperature and humidity.
- Cutting: Use a fine-tooth saw (handsaw or jigsaw) to cut to size. Cut with the decorative face down when using a jigsaw, and up when using a handsaw.
- Trims: Install the necessary trims (internal corners, end caps, base trims) first. These are often glued and/or screwed into position.
- Adhesive: Apply a solvent-free construction adhesive or neutral-cure silicone generously to the back of the panel in a zigzag or vertical line pattern.
- Sealing Joints (Crucial for Wet Areas): Before slotting the second panel into the first one’s groove, run a small bead of mould-resistant silicone sealant inside the groove. This ensures a fully watertight seal between the panels.
- Finishing: Seal all gaps around pipes, shower trays, baths, and the final end caps with a bead of the same mould-resistant silicone. Allow 24-48 hours for the adhesive and silicone to cure before exposing to water.